Tuesday, March 12, 2013

ArtSplash

Another winter activity we participated in was Art Splash put on by Arts in Stark. It was held at the Canton Art Museum and the theme was superheros. There were all kinds of activities from an art show, scavenger hunt through the art museum, face painting, being a superhero in a mini movie, and doing make'n'takes. Sawyer and Nora made crowns and power cuffs. The kids had lots of fun with all the activities. It was a wonderful, free activity for kids of all ages!

I love, love, love events like this!

painting and making a crown 

Sawyer showing off his crown and superhero cuffs

 Nora being Daddy's princess


Sunday, March 10, 2013

My Little Gymnast

All winter we've been finding ways to beat cabin fever. And if you've ever met Sawyer you know he has LOTS of energy. So promptly when he turned 3 (which is the minimum age) I signed him up for gymnastics!

Before his first class he was very excited to jump on a trampoline. Once he entered the gym (sans mommy) he became very tentative. He stood and watched as the other children do warm-up stretches. After several minutes the teacher tried and get him to join in with the group and he lost it.  He started screaming for mommy. I saw the whole situation as I was sitting in the mezzanine above the gym. He continued to cry and refuse to participate for the next 10 minutes. If the teacher even looked at him he started wailing again. Finally they called me (and Nora :) down to assist. I got him to calm down and we rejoined the group and I sat with him while he was in line.  He finally started doing the activities (balance beam, trampoline, etc). On the bright side it was great to see that he could do all of the activities quite proficiently. After trailing him for 20 minutes I slipped away and he did well for the remaining class period.

After class he ran to me excitedly and said he had lots of fun...we'll see if he remembers the fun next week. And I learned a lesson...drop Nora off with Daddy until I'm confident Sawyer can handle it on his own :)

excited for his 1st class, this is before he actually started :)
I wrote this post a few weeks ago and never got around to posting it. I'm happy to report that week 2 went much smoother. I dropped Nora off with Daddy and I brought M&M's because this mommy is not above bribery. Thankfully the M&M's were not even needed.

When we arrived the 2nd week I decided to follow Sawyer's lead. When we reached the gym door he asked me to help him so I walked him down to his class and found his carpet square. As I was walking away he was on the verge of losing it so I stayed with him through warm-up and encouraged him to participate without pushing too hard. As the class split up to different activities I told Sawyer I had to go but I would be back soon. He let me go and proceeded to his activities. He did the uneven bars, rings, shuttle race etc. He listened well, waited his turn and performed all the tasks with no tears! I would call that a success!

Once I'm more confident and he is more comfortable I'll try to get some action pictures.

Friday, March 8, 2013

Bathroom Remodel {Take 3}

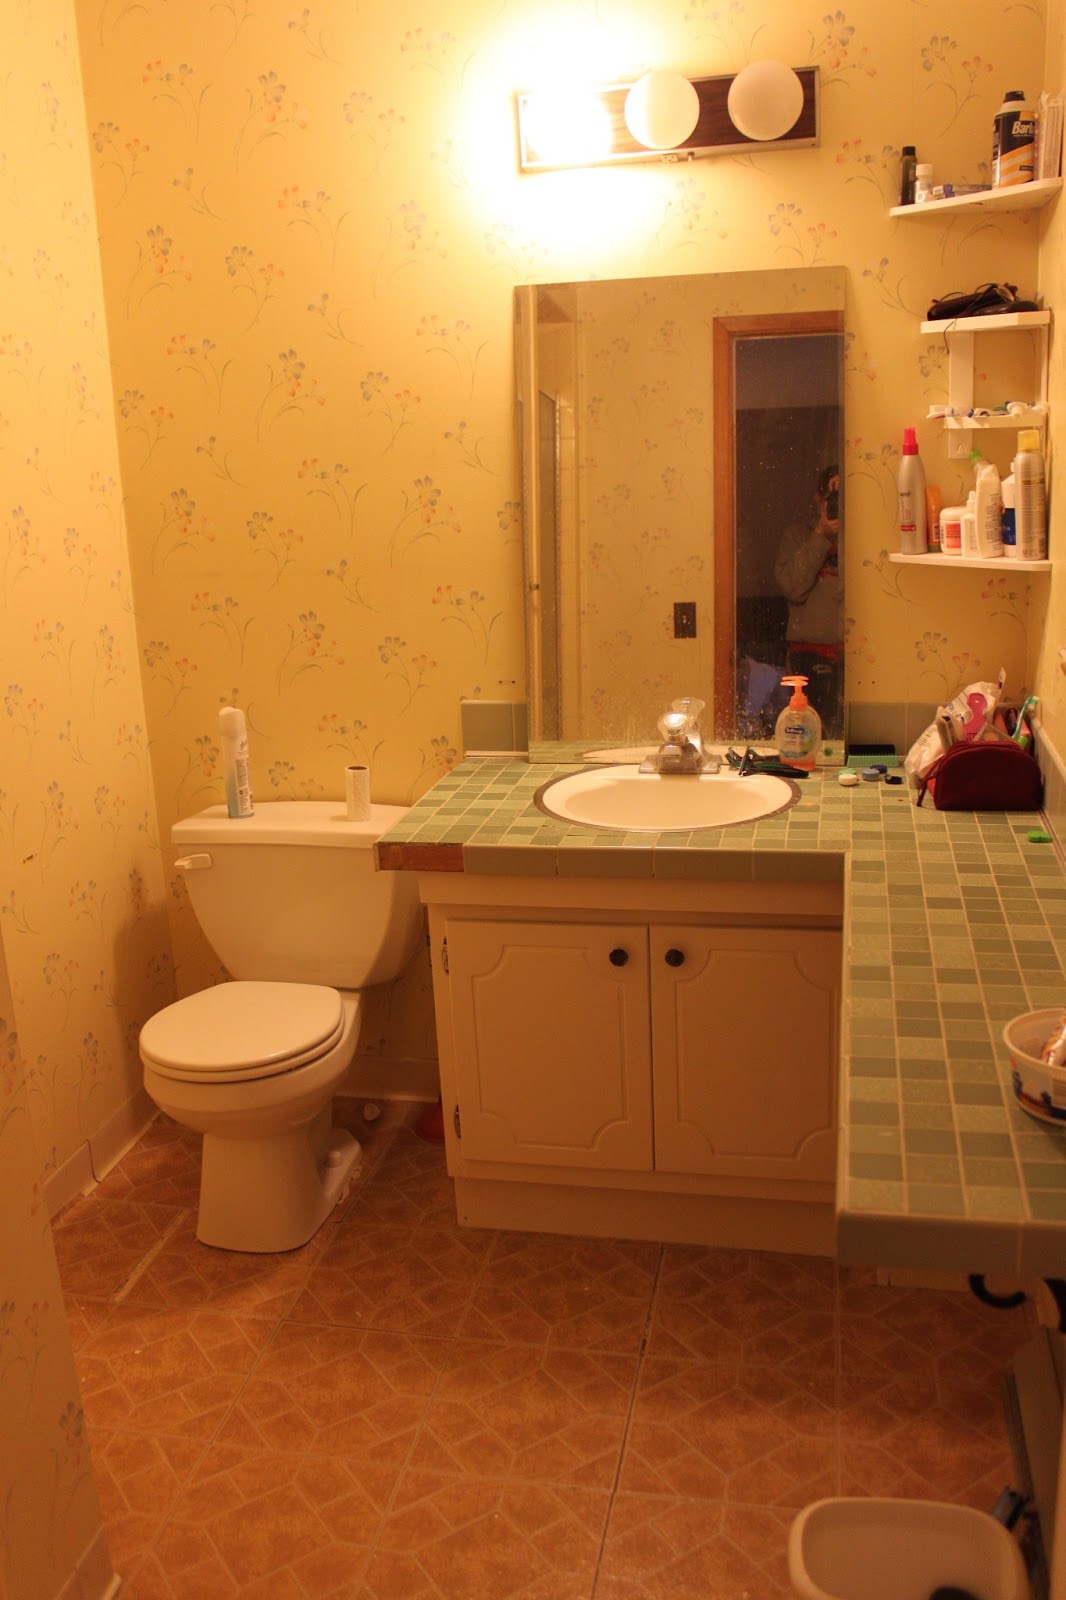
I'm happy to report that we have started the process of remodeling our 3rd and final bathroom (it also happens to be the last room in the house to remodel, yippee!). We started last weekend with the first project...wallpaper removal.

Here's what it looked like before (untouched since we moved in):
Bathroom stuck in the '70's, only 1 working light and a leaning mirror

 Yellow floral wallpaper everywhere! And holes from long ago ripped out towel bars

And this is a horrifying peel'n'stick tile job...I don't understand how you can leave gaps like that...


we also had a slight storage issue, that will be remedied soon enough
Here's what the bathroom looks like after a weekend of work. I removed wallpaper on Friday and Sunday for over 10 hours total and unfortunately only half the wallpaper is down (2 walls). I'm telling you whoever put the wallpaper  up in the '70's was a professional. This stuff does not want to come down! Kyle spent Saturday demolishing the bathroom by taking out the vanity and counter, removing tiles, ripping off the baseboards and removing the toilet.


 these pictures are the 2 walls sans wallpaper and of course the kids want in on the action

Sawyer is quite distressed that his house is broken! After seeing the destruction he was adamant that he was going to "fix it all by myself! I have to fix mine house!" I doesn't grasp that it has to look worse before it looks better :)

This is a weekend only project so it's going to take a while, but thankfully we can shut the door and use the other bathrooms. We'll keep you updated.

Wednesday, March 6, 2013

Toy box Reaction

When I posted the toy box pictures I forgot to record the reactions from the most important critics...the kids!

When Kyle first brought in the toy box Sawyer's first intuition was to climb in and of course Nora joined him.  Then for days afterward they were so enamored with the new toy box whenever we pulled it out all of the toys had to be taken out :)


Monday, March 4, 2013

Adventure Vest {tutorial}


A few weeks ago I was thinking about what I could make for a special boy in my life who was about to turn 4! This particular little boy loves to be outside exploring nature so I thought an adventure vest with lots of pockets for his treasures would be a fun idea.

I scoured the Internet for explorer vest tutorials and unfortunately I found very little help. I remembered this explorer vest from Homemade By Jill but she used an Oliver + S pattern. While this vest is super cute I am too cheap frugal to buy a whole book for 1 pattern. So my search continued and I found this felt frontier vest by MADE. Not quite the look I was going for but she did provide a free .pdf pattern for the vest shell. So I improvised creating a vest similar to the Oliver + S vest but using the MADE pattern.

So without further ado here is my my take on the explorer vest (my 1st tutorial so bear with me and feel free to ask questions).

Supplies:
1.5 in double fold bias tape
1/4 yard fabric (outer vest)
1/4 yard coordinating fabric (liner)
Sewing notions


Print and cut out patterns:
Visit MADE and print the vest pattern. Attach the 2 pages by aligning the arrows, do not overlap. This pattern is for size 2-4. For my project I extended the size by cutting about 1/4 inch outside the pattern lines. This will allow for a small seam allowance.

Click on the link HERE for a .pdf of the pocket patterns.

All seams in this tutorial are 1/4 inch unless noted otherwise.

Cut the fabric:
Fold the fabric and place the vest pattern with the long straight edge on the fold. Trace then cut. Continue until you have 2 back pieces (1 outer fabric and 1 liner fabric) and 4 front vest pieces (2 outer fabric and 2 liner fabric).
Then using the outer fabric cut 1 large pocket, 2 medium pockets, 2 small pockets, 1 large pocket flap and 2 medium pocket flaps.

And with the remaining liner fabric cut 1 large pocket flap and 2 medium pocket flaps.

Assemble pockets:
Take 1 outer fabric pocket flap and 1 liner pocket flap and pin them right sides together. Sew around the flap being careful to back stitch at the beginning and end and leave a 2-3 inch opening for turning.
Turn the flap by pushing the fabric through the opening.
Iron flat.
Top stitch around the pocket flap being careful to seal closed the opening.
Repeat this process for the 2 remaining pocket flaps.

To give the pockets a finished look iron each of the 4 sides with a 1/4 to 1/2 inch hem on the backside of the fabric. Then choose 1 side as the top of the pocket and sew a straight stitch down the hem. Repeat this process for all pockets.


Place the pockets on the vest at desired intervals. I placed the medium pockets on the front approximately 2 inches from the bottom of the vest. I placed the small pockets approximately 4 1/2 inches from the top of the vest. I placed the large pocket on the back of the vest approximately 2 inches from the bottom. Pin the pockets in place. Sew around 3 sides of the pocket. Do not sew the top side of pocket.


Pin the pocket flaps on the pockets. I overlapped the pockets and flaps approximately 1/2 inch. Sew across the top of the flap.

Attach lining:
Pin the back outer fabric and the back liner fabric right sides together. Start sewing at the bottom of the right arm hole.
Sew down the side, bottom, and other side. Ending at the bottom of the next arm hole. Be careful not to sew either arm holes. Then sew from shoulder to shoulder.

Next pin one outer front vest piece and one front liner piece right sides together. Start sewing at the top of the armhole (shoulder). Sew around the piece (shoulder, side, bottom, side) being careful to stop leave the arm hole open. Repeat the process with the other front piece.
Clip all the corners. Turn your 3 pieces right side out through the arm hole. Iron the back and 2 front pieces.

Assemble the vest:
Pin the 2 front pieces to the back of the vest (right sides together) at the shoulder. Sew across both shoulder pieces.


Then pin the front and back sides. Sew down each side.


Extra credit: this is not necessary, but I top stitched around the vest (being careful to leave the armholes open) to give it a professional finish.


And for the final step get out the bias tape. Pin the bias tape around the arm holes.


Once you reach the end of the circle cut the bias tape about 1 inch longer than needed. Then fold the extra 1 inch of bias tape under to hide the raw edge. Sew the bias tape around each armhole.


Extra credit: add buttons, snaps or a zipper. All of these finishing touches are fun but when I thought about it I knew no little boy would bother to close the vest. They are too busy looking for fun to be bothered with closures.

And here is the final product complete with a bug house, shovel, and magnifying glass to use with your adventures!


 This vest can be used for all sorts of boy filled adventures including (but not limited to :)  fishing, safari, or bug catching expeditions.


Feel free to use this tutorial and pattern for your own personal use, but please refrain from selling the pattern or the finished product.

Friday, March 1, 2013

Bowling

The kids and I have been enjoying our Thursday morning play group especially as the winter months continue to keep us inside most days.

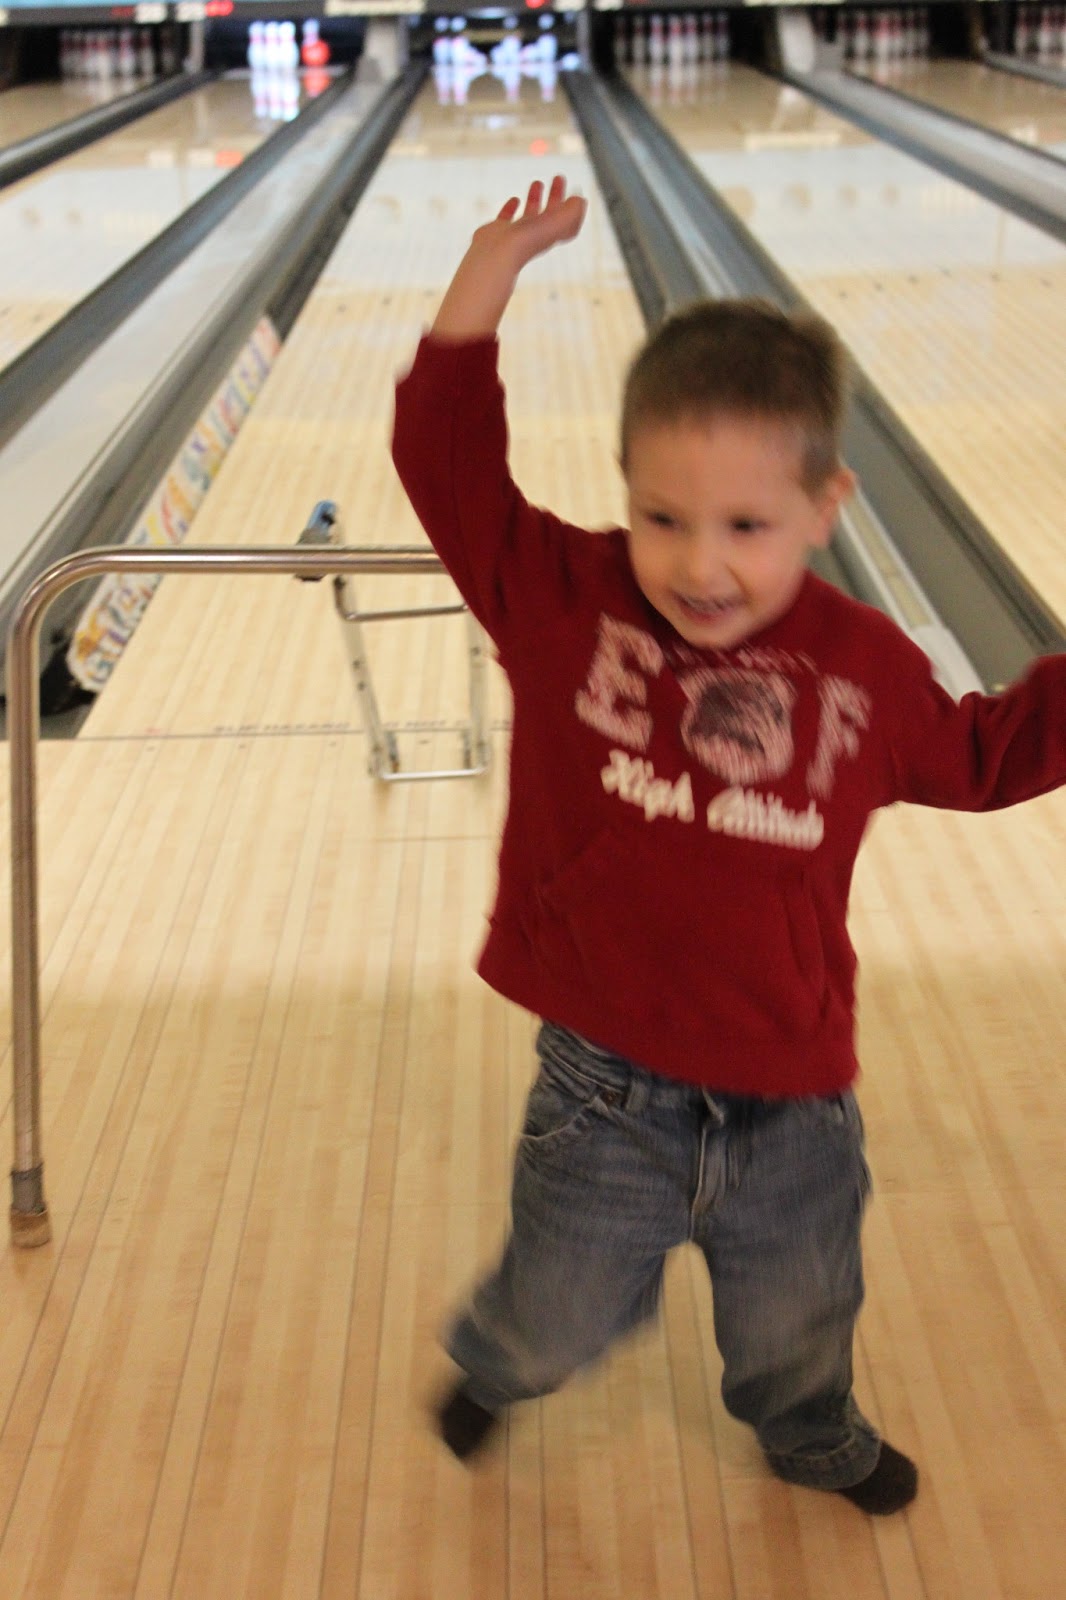
Yesterday we went bowling. It was Nora's 1st time and both kids really enjoyed it! The bowling alley provided our group bumpers and a ramp. Sawyer was able to "do it all by myself."  Nora needed a little assistance carrying the ball but she loved to push it down the ramp by herself.


Sawyer had to count down before releasing the ball
watching it go down the alley
waiting 

and finally the celebration!